How to create a new PBI
A Product Backlog Item (PBI) is a work unit that describes a specific need of a product. It can be a feature, a user story, or any other element that adds value to the final product.
How to create a new PBI?
In Done Tonic, each PBI contains smaller work units known as Tasks. Before working on a PBI, it is important to create its respective tasks. These tasks provide a clearer understanding of the necessary steps to complete the PBI and helps you to manage the work from the Sprint Board.
Follow these steps to create a PBI:
- Navigate to the Backlog section in your Scrum project.
- In the top right corner of the screen, click on the + PBI button.
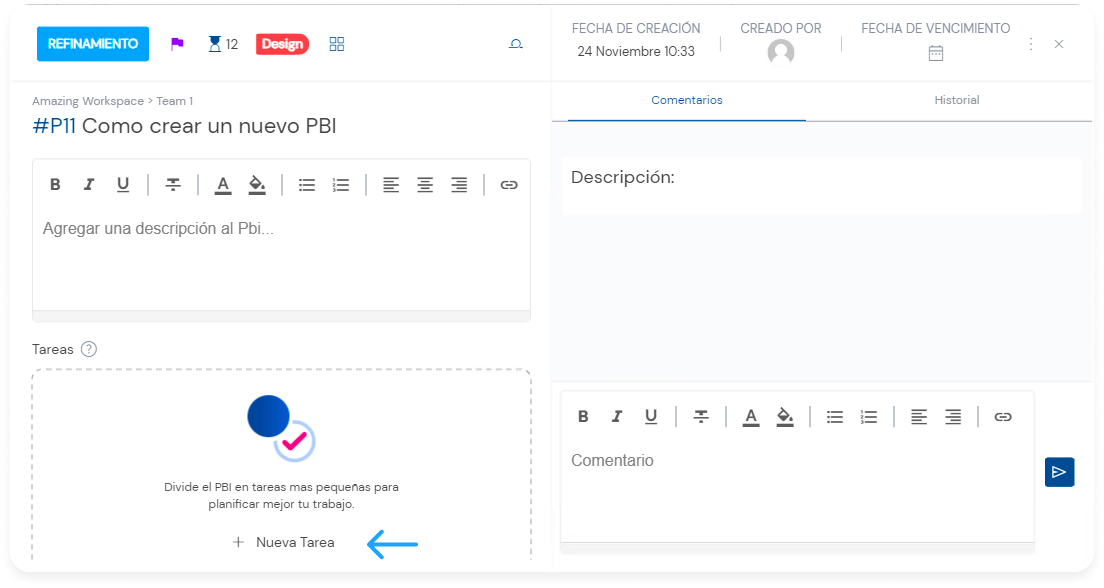
- Here you can fill in the different attributes of a PBI: PBI Status (colored square), PBI Name, PBI Description, Add attachments, Set priority, due date, or labels.
- Break down the PBI into smaller Tasks to work more efficiently and assign them to members of your team. To add the PBI´s task go here:
Here is a demonstration of how you can create a PBI with its respective tasks:

Details of a PBI/Product Backlog Item
Discover all the actions you can perform on a PBI
- PBI Status
- Requirement:The need falls within the parameters of the Moscow Scale.
- Estimation: The estimation for each unit in DoneTonic can be adjusted to your preferences, whether in story points, hours, etc.
- Tag
- User Story Mapping: From here, you can add a PBI to a user story mapping or, if it’s already part of the User Story Mapping, find out which product it belongs to.
- From here, you can add a PBI to a Sprint.
- From here, you can add a PBI to a Releas
 e.
e.
Depending on the categorization of PBIs, you can also find the + NEW PBI buttons within the PBI section to quickly create a new one.
Need to delete a PBI? Check out this guide.